SimpleDim, the Powerpoint business CAD add-in, offers powerful tools for making scaled, unitized drawings and diagrams in Powerpoint. But as with all powerful tools, there are a few tips and tricks to make it more effective and quicker. Let’s explore a few of them to help you get the most out of what SimpleDim has to offer.
Use KeyTips For Speed
Typing can often be faster than using the mouse to click around a screen. This is well-known.
For example, CAD programs like AutoCAD have typing command interfaces. Someone who knows the commands can access a wide array of functionality very quickly.
Similarly, investment bankers and consultants know that using Excel’s keytips and keyboard shortcuts give them an unmatched speed advantage and greatly reduce the amount of time needed to create professional slides and spreadsheets.
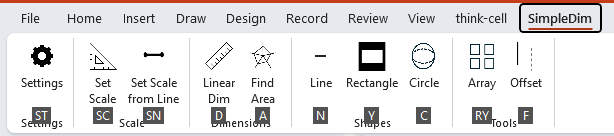
SimpleDim also has KeyTips. KeyTips are powerful speed enhancers while doing drawings. They let you access the tools without having to click on each button. ALT + X lets you open the SimpleDim menu, and the rest of the tools can be accessed with one or two more left-hand keystrokes and the Tab key. This leaves your mouse-hand free to make any adjustments needed on the drawing.
Using KeyTips is a great technique and will definitely speed up your SimpleDim Powerpoint CAD experience.
Format Your Shapes Before Array And Offset
SimpleDim has powerful drawing tools in Array and Offset commands.
But save yourself some time and trouble. When you first create a shape, format it the way you want it to be. This could be color, line width and style, and fill.
Then use the Array and Offset commands. Those commands make more of your original shape. If you have made it the right way to begin with, then you’ll have less reformatting to do later.
There are few things more frustrating than making a perfect array and having to re-do it a few times because the shape formatting wasn’t correct!
Set The Right Scale For Your Slide
Before starting a drawing, take the time to set the right scale for your slide and the drawing. Use our guides on calculating precision to help figure out what scale you should set.
The scale will help you find the right level of detail and view-ability for your drawing. A minute to figure out your scale will save rework later.
Remember to Adjust Units For Your Audience
Uh oh! You set the scale in Meters, but you got asked for an area in Acres. What do you do?
Sometimes your audience will want to see measurements in different units.
Good news: You can change units of Area and Linear dimensions after you’ve created them.
Simply open up the Settings task-bar, and change the linear and area unit drop-downs.
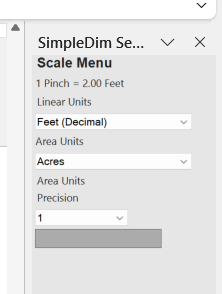
This is how you can customize your presentations to what your audience needs to see.
Group Shapes For Easy Handling
CAD has blocks. SimpleDim makes great use of Grouping.
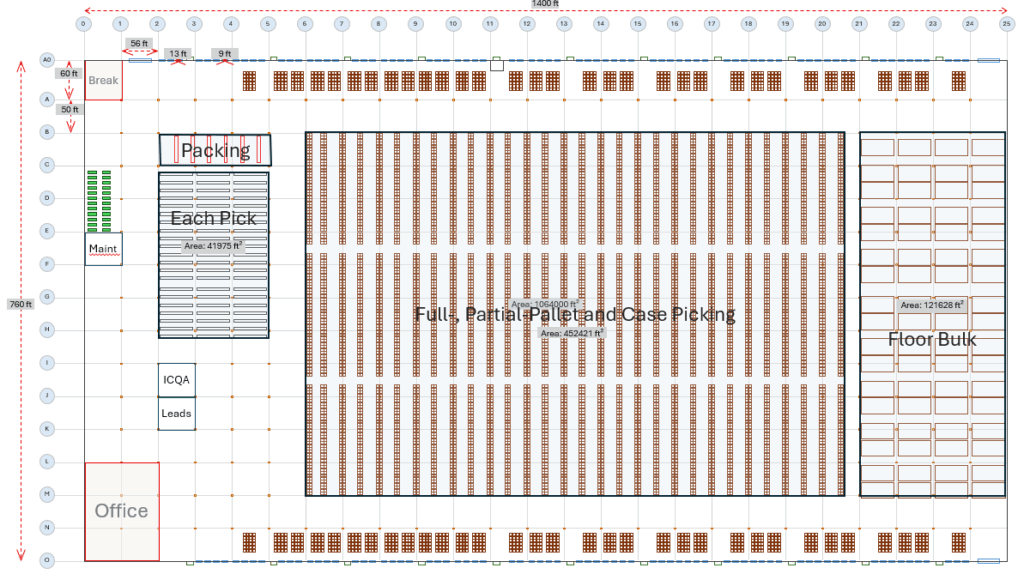
When you make a shape drawing from several other shapes, you can group them together and use them for duplication. Here’s an example of a Pallet shape made of several rectangles and grouped together.
Once grouped, it can be used in racking layouts without having to recreate the shape every time or manage its constituent parts separately.
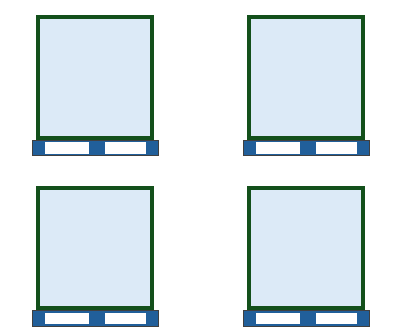
Grouping will work particularly well for items you plan to duplicate throughout the facility, like racking layouts, pallets, gridline templates, and other repetitive groupings.
Tying It Together With Example Drawing Of Pallet
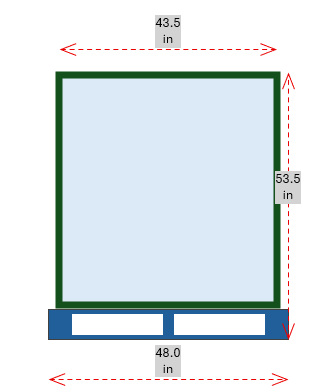
Here’s an example of doing a drawing of a pallet to-scale, that can be used in other drawings. Very easy, and you can be sure that it’s dimensionally correct!
Final Words
SimpleDim increases the versatility and capability of Powerpoint for drawing. Use these tips to get the most out of the tools and quickly create great diagrams that your audience will love.